基于 gitbook 搭建笔记站点
前言
目前使用 hexo+github pages 构建博客站,但是作为笔记管理系统有两个缺点:
- 笔记是学习一个事物的过程,记录可能比较随意。博客是学习一个事物并实践之后得到的思考。放到同一个主站点下面,即使打了 tags,给人的感觉也比较混乱。
- hexo 笔记分层管理不太方便,需要自己新建 tab,并逐级构建章节文件夹,并且新建的 tab 对目录集成不是很好。
本文主要记录 gitbook 的搭建集成,参考了 打造完美写作系统:Gitbook+Github Pages+Github Actions
gitbook
安装 node,这里要安装 node 10.x,和 gitbook 版本兼容。否则会报错。
1
2
brew search node
brew install node@10安装 gitbook,新建笔记目录,在笔记目录下执行初始化。
1
2
3
npm install -g gitbook-cli
mkdir ~/flink_learning_notes && cd ~/flink_learning_notes
gitbook init配置 gitbook。第二步初始化完成后,会在对应目录下生成
README.md和SUMMARY.md。README.md是网站首页,SUMMARY.md是笔记目录,格式如下:
1 | * [开篇](README.md) |
- gitbook-summary 插件支持自动生成目录,安装完成后,执行
book sum即可。注意中方式生成的目录顺序是按照字典序来的,所以可能会出现问题。
1 | npm install -g gitbook-summary |
安装插件。笔记目录下,新建
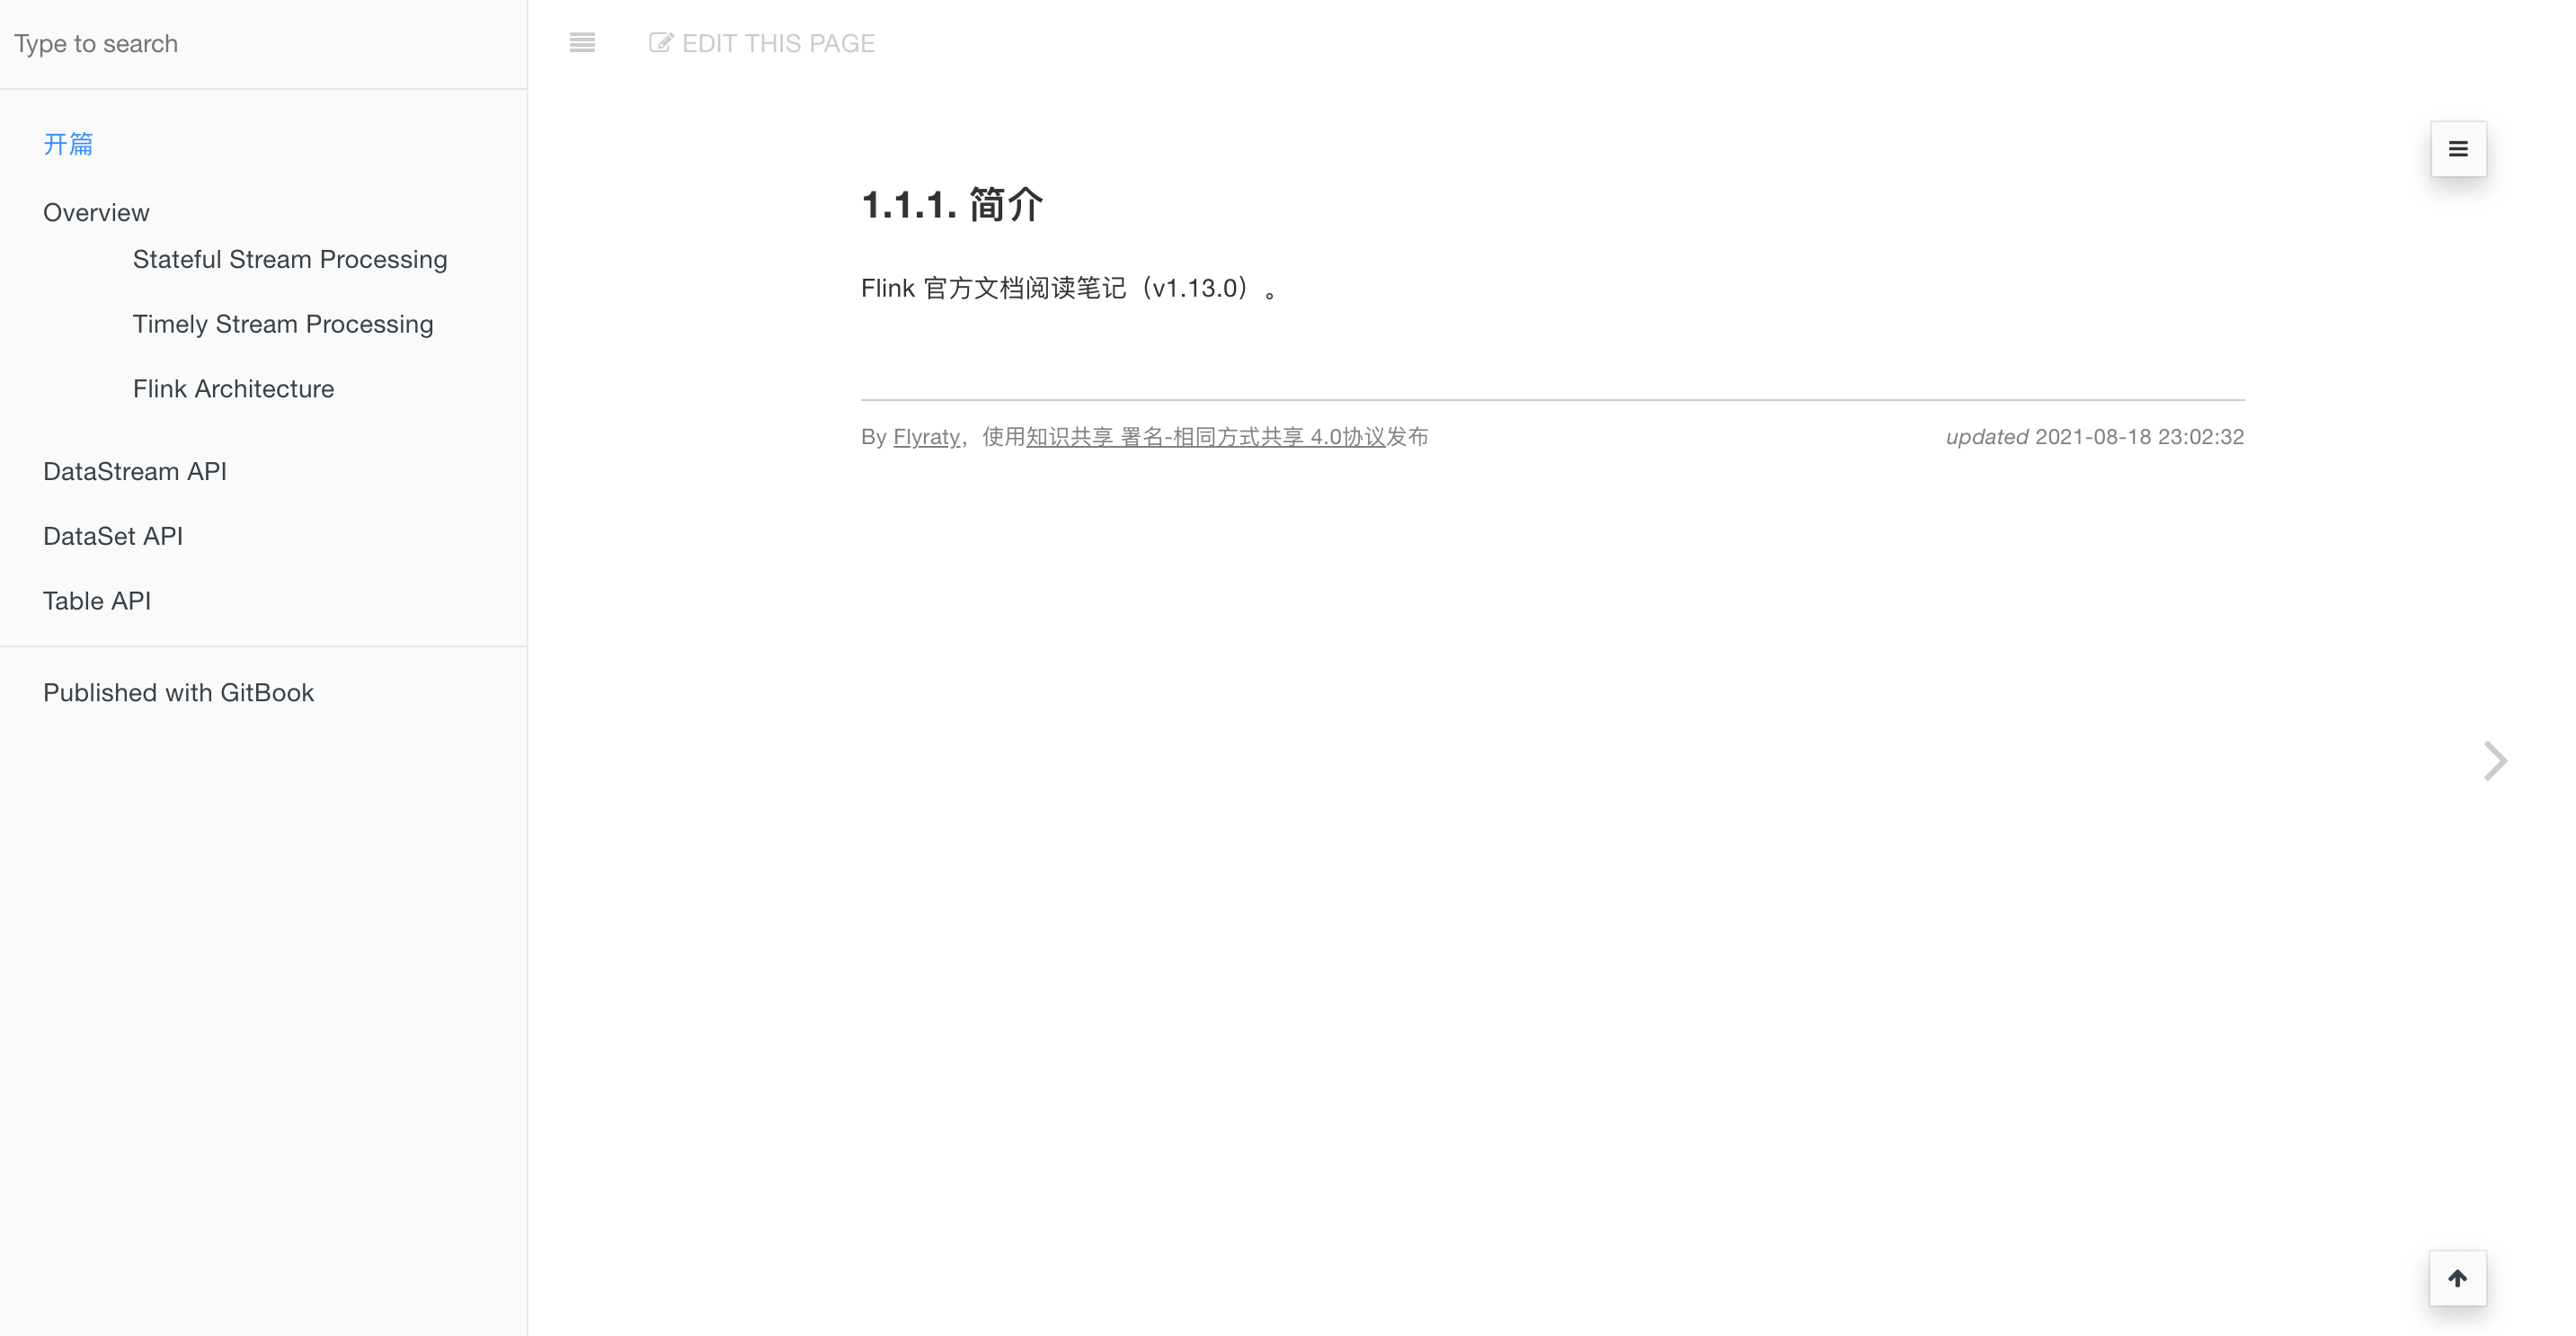
book.json,这是整个笔记站点的拓展配置文件。示例如下。需要注意的是 ignores 配置,代表的是自动生成目录插件需要忽略的文件夹。执行gitbook install即可按照配置安装插件。1
2
3
4
5
6
7
8
9
10
11
12
13
14
15
16
17
18
19
20
21
22
23
24
25
26
27
28
29
30
31
32
33
34
35
36
37
38
39
40
41
42
43
44{
"title": "Summary",
"plugins" : [
"expandable-chapters",
"github-buttons",
"editlink",
"copy-code-button",
"page-footer-ex",
"anchor-navigation-ex",
"expandable-chapters-small",
"prism",
"-highlight",
"lunr",
"-search",
"search-pro",
"splitter"
],
"pluginsConfig": {
"editlink": {
"base": "https://github.com/Flyraty/flink_learning_notes/tree/gitbook",
"label": "Edit This Page"
},
"github-buttons": {
"buttons": [{
"user": "Flyraty",
"repo": "flink_learning_notes",
"type": "star",
"size": "small"
}]
},
"page-footer-ex": {
"copyright": "By [Flyraty](https://github.com/Flyraty),使用[知识共享 署名-相同方式共享 4.0协议](https://creativecommons.org/licenses/by-sa/4.0/)发布",
"markdown": true,
"update_label": "<i>updated</i>",
"update_format": "YYYY-MM-DD HH:mm:ss"
},
"prism": {
"css": ["prismjs/themes/prism-solarizedlight.css"],
"lang": {"flow": "typescript"}
}
},
"ignores" : ["_book", "node_modules"]
}gitbook serve本地启动服务,和 hexo 一样会生成一个localhost:4000的静态站点。生成的_book文件夹即为站点的静态资源。
gitbook build只会生成站点资源文件,但是不会部署,类似于hexo -g。安装问题,gitbook 版本只支持 note 10.x,使用最新的 node 安装就会报以下错误,重新安装 node 即可。
1 | TypeError: cb.apply is not a function at /usr/local/lib/node_modules/gitbook-cli/node_modules/npm/node_modules/graceful-fs/polyfills.js:287:18 |
集成 github pages
github pages 分主站点和子站点的概念,每个 github 用户有一个主站点和若干个子站点。主站点就是命名为 xx.github.io 的仓库,开启 github pages 服务后,浏览器输入 xx.github.io 即可访问。子站点为同一用户下开通 github pages 服务的其他仓库,比如存在另外一个仓库 flink_learning_notes,浏览器输入 xx.github.io\flink_learning_notes 即可访问。
站点正常访问的前提是仓库根目录存在 _index.html 文件。执行 gitbook serve 生成的就是这个文件及其对应的静态资源,所以 gitbook 和
github pages 集成原理和 hexo 是一样的。
- 本地编辑文件,生成资源文件。
- github 新建仓库
- 本地目录关联远程仓库,push 到 github 仓库。
- 开启 github pages 服务。
而这些步骤又可以集成 github actions,走 CI。
集成 github actions
其实就是用 CI 把上面的 gitbook 安装部署步骤走一遍。
- 安装 node 和 npm。
- 安装 gitbook 和 gitbook-summary。
book sum生成目录文件,github build生成站点资源文件cd _book && git push。
CI 配置文件如下,这里和 hexo 一样,采用了双分支,站点_book部署到 main 分支,而 markdown 源文件在 gitbook 分支。不明白的可以参考下 github actions 实现 hexo 自动化部署。
需要额外注意的是 $,就是在个人 repo 设置中生成一个 access token 供 CI 权限访问。
1 |
|
与 github pages 主站点集成
主站点是博客站,新建 tab 页,配置外链,直接跳转到笔记站点即可。修改 hexo 主题配置文件,添加 notes 页面配置。示例如下
1 | menu: |